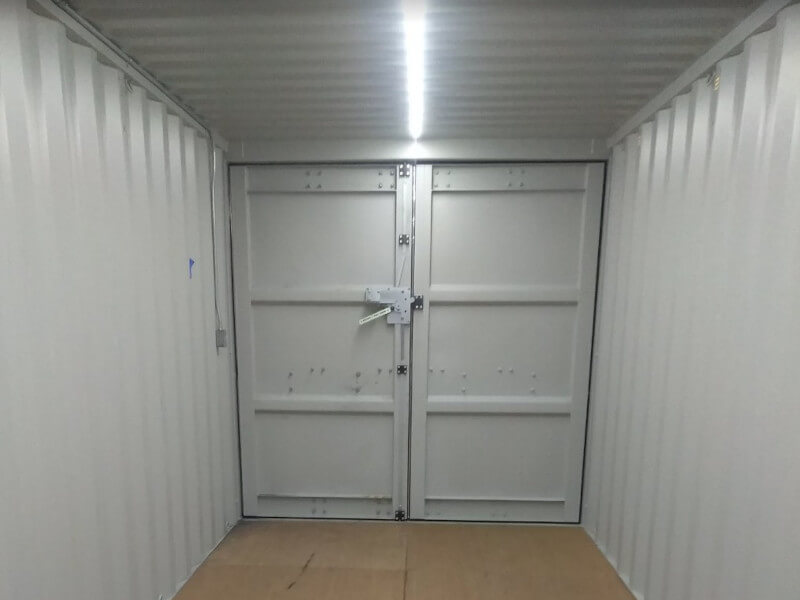
Shipping Container Solar Lighting
Updated: Feb 19, 2022 | Container solar lighting
Updated: Feb 19, 2022 | Container solar lighting

Shipping container solar lighting is becoming the most desired lighting system for shipping and storage containers. No more tripping and fumbling inside a dark storage container.
If the shipping container "Storage Container" is set close to power outlet. ( close to a building with external power outlet ) a standard lighting system can be installed inside the container to provide internal lighting. Fluorescent or LED lights all the same.
A pigtail from the shipping container and an electrical extension cord is all you need to supply the storage container with power.
But what about if the shipping storage container is not close to a power supply or you just don't want to worry about running a long extension cord to it.
Shipping container solar lighting will be your best solution. No cords to worry about and no worry about loosing power.
The shipping container solar lighting system is very simple and maintenance free. The 12V battery provide power to the LED lights and the solar panel provide power to the battery through the charging controller.
Need a shipping container solar lighting? You came to right place.
Get in touch with our sales team. They will get you the best deals & answers all your shipping container solar lighting systems questions.
Unfortunately the shipping container solar lighting kit that we have been installing for years is no longer available.
But that's ok as we can still get the needed parts to install the lighting system. At the same time the old kit we use to get have items that were useless.
Here is a list of the needed parts for a solar lighting system.
With these parts on hand we can create and install the shipping container solar lighting system.
The solar panel will be installed on the roof of the container. The battery and charging controller will get installed inside the container.
The battery holder.
We start by building steel a battery holder, We use 1/2X1/2 inches steel angle and some 1 inch flat bar. This usually take about half an hour to finish.
The battery holder get fastened to the top rail as far inside the container as possible. We can use self-tapping bolts or 1/4 inch steel rivets to hold it in place.
Now we can drill a pilot hole in the ceiling next to the battery and that gives us a good idea on were to install the solar panel.
This hole will be used to bring the solar panel wiring inside the container.
The charging controller.
The charging controller will be installed on the top rail next to the battery too. Six wires are going to be attached to the controller.
Two self-drill screws should do the job of securing it to the rail.
EMT Electrical conduit.
We need one junction box fastened to the top rail next to the controller. One EMT conduit is going to run to the back of the container by the cargo doors. And another one toward the center of the container.
At the end of the first conduit we install the ON/OFF switch. And at the end of the other one the LED strip will start.
The solar panel.
Installing the solar panel is easy. 4 brackets get fastened to the solar panel frame then the frame get fastened to the roof. Screws or steel pop rivets will do. Just make sure to seal all the fastners to prevent leakage.
While working on the solar panel. Widen the pilot hole we drilled earlier and run the panel wires through it inside the container. Seal the wire hole as good as possible.
The LED Strip.
The LED strip comes with a peel-and-stick adhesive backing, you can quickly and easily apply this 12V strip to center of the shipping container ceiling.
Wiring the solar lighting system.
The solar lighting system runs on DC current so we need to watch for polarity. The charging controller shows were the wires need to go and their polarity.
That's about it. The solar panel will start charging the battery as soon as the wires get connected and the system is ready to be used.
Copyright: © 2021
Seattle Tacoma Shipping Containers